Last Updated on July 25, 2022 by Manager Access

With the rising cost of electricity, many people are looking for alternative energy sources to generate power and lower their electricity bill.
One of the most common alternative energy sources is solar power.
While solar generators with everything you need to get started do exist (see my selection of the best solar generators), you can also build your own kit out of spare parts for a better bang for your buck, and potentially a stronger solar power system.
In this post, I will list everything you need to get started and guide you through the building steps.
Disclaimer
A general knowledge of electricity would be a great tool to have and if you feel uncomfortable dealing with electrical components, it may be wise to recruit an experienced electrician.
I am not responsible for any injuries or accidents that may occur after following this article. This is for informational purpose only and you should always consult with a licensed electrician.
Things You Need To Build A DIY Solar Generator
One of the most important things to remember when building a solar generator is to take into account how much you will be spending and how much money you will be saving with the generator.
It is easy to overspend and build a top notch generator without realizing that the money you spent on the generator outweighs the savings from the generator.
You will want to buy high quality parts as your solar generator will be outside and you will want them to be able to handle any type of environment. Take your time and research the correct components for your application.

Getting The Right Solar Panels
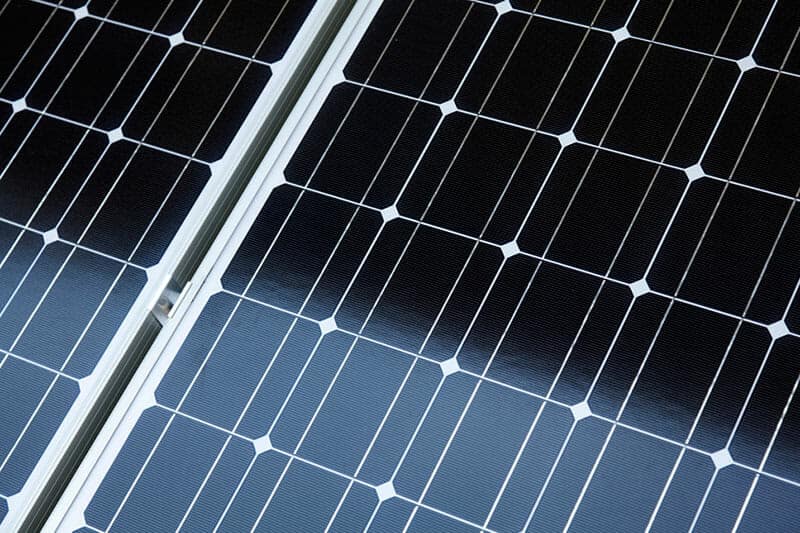
The solar panel is one of the key components to your solar generator. The solar panel is used to absorb energy from the sun and supply it to your battery and an inverter to convert it into usable electricity.
Since the solar panel will be one of the most exposed components of your solar generator, it is important to find a high quality, all-weather resistant panel to ensure you get the longest lifespan of your solar panel.
I recommend these renogy solar panels because they are built with Corrosion-resistant aluminum frame for extended outdoor use, and designed for long life cycles.
They are very popular for all sorts of applications like rv, boating, house backup, etc.

Finding A Good Battery
The battery on your solar generator is going to be where your solar energy is stored. This can be one of the most confusing parts of the build as batteries come in all shapes and sizes.
The battery you choose is going to depend heavily on how much energy you want to store. Take into account what you will want to power with your solar generator, the kW it will require, and choose your battery based on this information.
In most cases, lithium ion batteries are the best solution for solar panels.
Determine If You Need A Battery Box
With your solar generator spending its life outside in the elements, it is important to keep your battery protected to extend its life and ensure that it does not get damaged.
A solar generator battery box can be made from hard camera cases, locking plastic cases, or any other weather resistant and sealed container.
The Charge Controller
When building your own solar generator, you will want to make sure that you are not overcharging and prematurely wearing out your battery. This is where a charge controller comes in.
A charge controller helps to prevent overcharging and prevents reduction in battery life. Figuring out whether or not you need one is pretty simple.
I suggest you do use a charge controller for safety reasons, but you can also do without one.
To find out if a charge controller is needed with your solar generator, you will need to find out the battery amp hour capacity.
Divide that by the mac power amp rating of your solar panel, and see if this is above or below 200. If it is above 200, you will not need a controller, if it is less than 200, you will need a controller.
Purchase an Inverter
The last part of your solar generator is going to be the inverter.
The inverter is a tool that will convert the power that has been stored in your battery to AC power so that you can use it for charging your electrical appliances.
When your battery stores energy, it stores it as DC or direct current energy. The inverter converts this DC power to AC power and is a vital part of your generator build to ensure you can safely use the energy to power your electrical items.
I recommend Energizer inverters, while they are a bit more expensive than chinese brands, they are also more reliable and available in a wide range of power.
Get a 12V DC Meter
Having a 12V DC meter mounted onto your solar generator will allow you to easily see what your generator has stored to make sure it is ready to power your electronics.
These DC meters can be found at a very affordable price and are a great tool to have on your solar generator.
Step By Step Instructions
Once you have acquired all of the necessary parts of your solar generator, it is time to build your generator.
I will go over each necessary step in order to allow you to build your own solar generator.
Step 1 – Prep The Outside Of The Box
With your battery box or camera case in hand, you will want to figure out where you want the DC meter and outlets to be laid out. There are a few things you want to take into consideration when doing this part.
First, you will want to consider how you want the battery box to sit when it is being used. Layout your DC meter in an easy-to-read place so that you can access it at any time to get a quick reading.
When installing your outlets, take into account how your chargers, plugs, and other appliance accessories will layout next to each other. For example, if a commonly used appliance has a larger plug, it may be beneficial to separate it from other close outlets.
Second, you will need to take into account how everything will mount inside of your box. If the outlets have a large backing, you will need to make sure they will fit once you get your inverter and battery into the box.
Once you have determined all of the above and made sure everything will work without interfering with each other, you can start to carefully drill and install your outlets and DC meter.
Step 2 – Connecting The Electrical Components
Now that you have the outlets and DC meter in place, you can place the battery into your battery box.
Using insulated wires, connect the DC meter to the terminals on your battery. When doing so, ensure you connect the negative first and then the positive.
Using insulated wires, connect the outlets to the battery in the same negative then positive process as the DC meter. Ensure that all connections are tight and secure for proper readings.
Now you can connect your solar panel to the battery.
There are two ways to do this – permanent or temporary.
- For a temporary connection, you can use quick connect plugs to easily plug in your solar panel to the front or rear of the battery box.
- For a more permanent solution, you can connect the solar panel straight to the battery as you did with the other components.
At this point, your solar panel is completely wired up. Before testing it out, ensure that all of your components are wired correctly and are protected.
Step 3 – Testing Out The Solar Generator
The last and final step to building your solar generator is to get it placed in an area where your solar panel can get a lot of sun and test it out.
If you have longer solar panel power wires, you can set the panel out in the sun and keep the battery box in a place where it will not be exposed to the elements. After all, the only part that needs sun is the panel.
Set the solar panel in direct sunlight and check your DC meter.
It should start reading the voltage that you are drawing into your solar generator.
If this is reading correctly, leave the panel outside for a few hours to get the battery charged to its capacity.
Step 4 – Using Your Solar Generator
Now that you have gotten your generator all charged up, you can start using it to power your electrical devices.
This is where the quick connects for the solar panel come in handy.
You can keep your solar panel mounted where you need it and quickly disconnect the box to take it with you wherever you need to go.
Take the appliance that you are wanting to charge or power up and plug in into the correct receptacle.
Your device should power on or start charging. Monitor how long it takes to charge and how much electricity you have left once it is finished charging.
Doing this with various components will give you a quick guide on how long you can charge certain things.
It will also be beneficial to keep tabs on how long it takes the battery to charge in the sun as well.
Conclusion
Solar power is easy to obtain as most regions of the world have adequate sunlight throughout the year. Solar panels are used to absorb energy expelled from the sun and with a proper generator, you can convert this energy into usable electricity for your home and appliances.
In the event of a blackout, which some cities in the US are used to in extreme weather conditions, solar generators can be a great way to keep you up and running with important appliances like radios, cell phones, and other needed appliances.
While you can go out and buy the best solar generator for your needs, many homeowners opt to build their own solar generators. This allows you to build it to your own specs and needs to provide you with an easy to use generator that supplies exactly the amount of electricity that you need.
Building you own solar generator is quite simple as all you will really need is a solar panel, an inverter, and a battery.
Now that I have discussed why people use solar generators and explained how to build your own, it’s time for you to go out and build one.
While the concept may seem a little intimidating, the process is pretty easy and can be done by just about anyone who can operate a drill and simple electrical connections.

Scott Krager purchased generatorgrid.com in the summer of 2020 and quickly began to buy every generator under the sun! He currently has over a dozen generators and the number is growing quickly. He lives in Portland, OR near his family and friends.
GeneratorGrid.com is an independent review business. I am not affiliated with any manufacturers and do not accept paid reviews. When you buy through my links, I may earn a commission which helps me purchase more generators for testing. - Scott Krager

